Your cart is currently empty!

Bikepacking Gear Guide
“I want to get into bikepacking/bicycle touring, but I don’t know where to start…”
It’s easy to become discouraged to try something wild and new when you’ve barely even stepped foot through the door. You see women biking the length of Africa alone; men cycling from Alaska to Patagonia; whole families cycling around Iceland for holiday or teenagers crossing the entire United States after high school graduation.
I’ve put together this gear guide to help you get your foot on the pedal and moving forward in whatever adventures- big or small- you have envisioned.
This guide has been carefully made to ensure that you make the BEST decision possible for yourself. I only recommend products that I have personally used on my adventures (and know undoubtedly work like a charm), and gear that close friends and other bicycle tourists have loved on their adventures.
Now, if you’re still feeling overwhelmed or worried about breaking a budget at the end of this all, read thru to the end to see my recommendations for maximizing your dollar and saving more 🙂

My Favorite Products

Tents/Bivvies
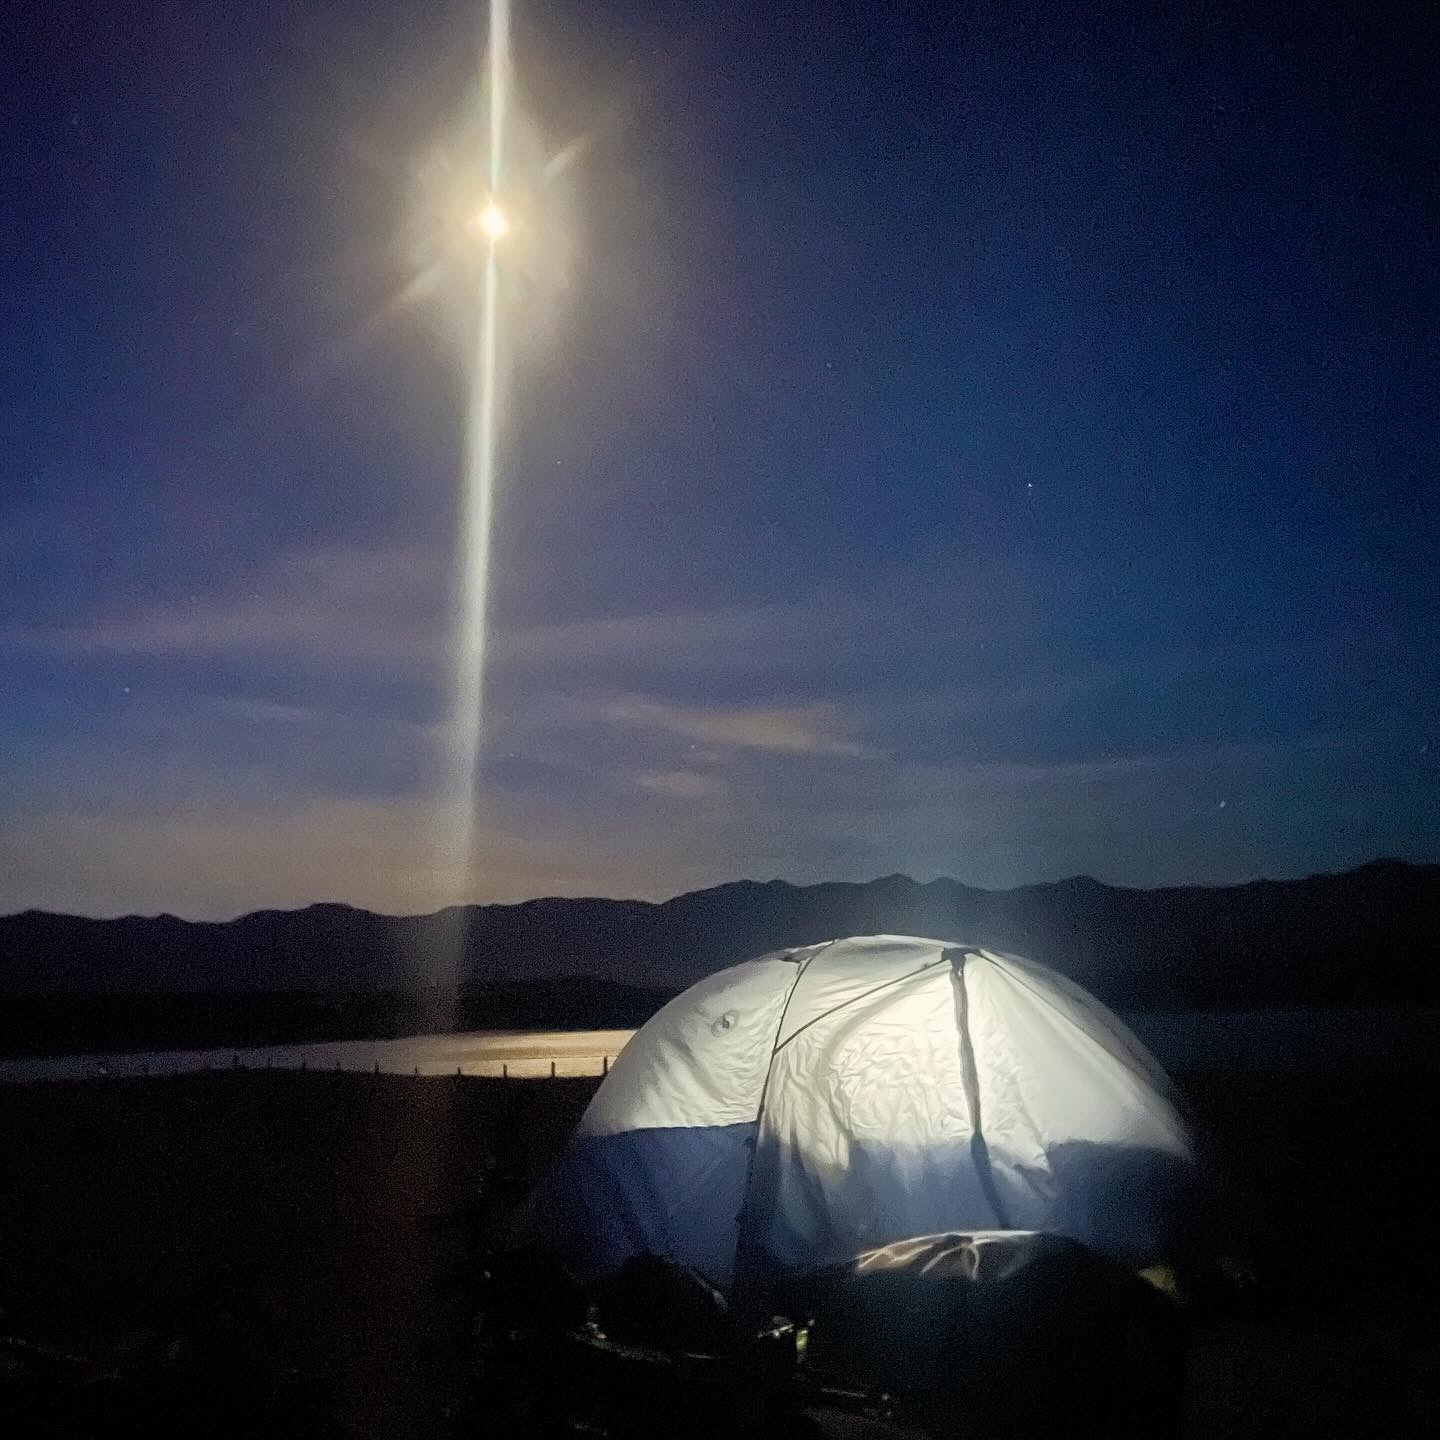
While you can theoretically use any tent you want, Big Agnes (my personal fave) is unique because they have bikepack specific setups that are lightweight, pack small (they have shorter poles) and are incredibly durable.
Sleeping Bags/Quilts/Pads
Consider buying a stuff sack to compress your sleeping bag down (if you need it to be more compact) and/or purchase a bag that is <3lbs.
What I Use
Big Agnes Anthracite 20 Sleeping Bag
*If you plan to buy something else, know that: Down bags should only be purchased if you 1. plan on never getting it wet and 2. plan to hang it upright every few days/in long term storage. If you don’t do this, the feathers will compress and lose their warm qualities. I opt for synthetic, because for long term touring, it’s rare that you’ll be able to do both of those things. Also, one downside of inflatable pads is that they can pop, lose air, be squeaky/loud, and overall be fussy. I’ve had more problems than not and have now opted for the Nemo Switchback!

Bike Bags
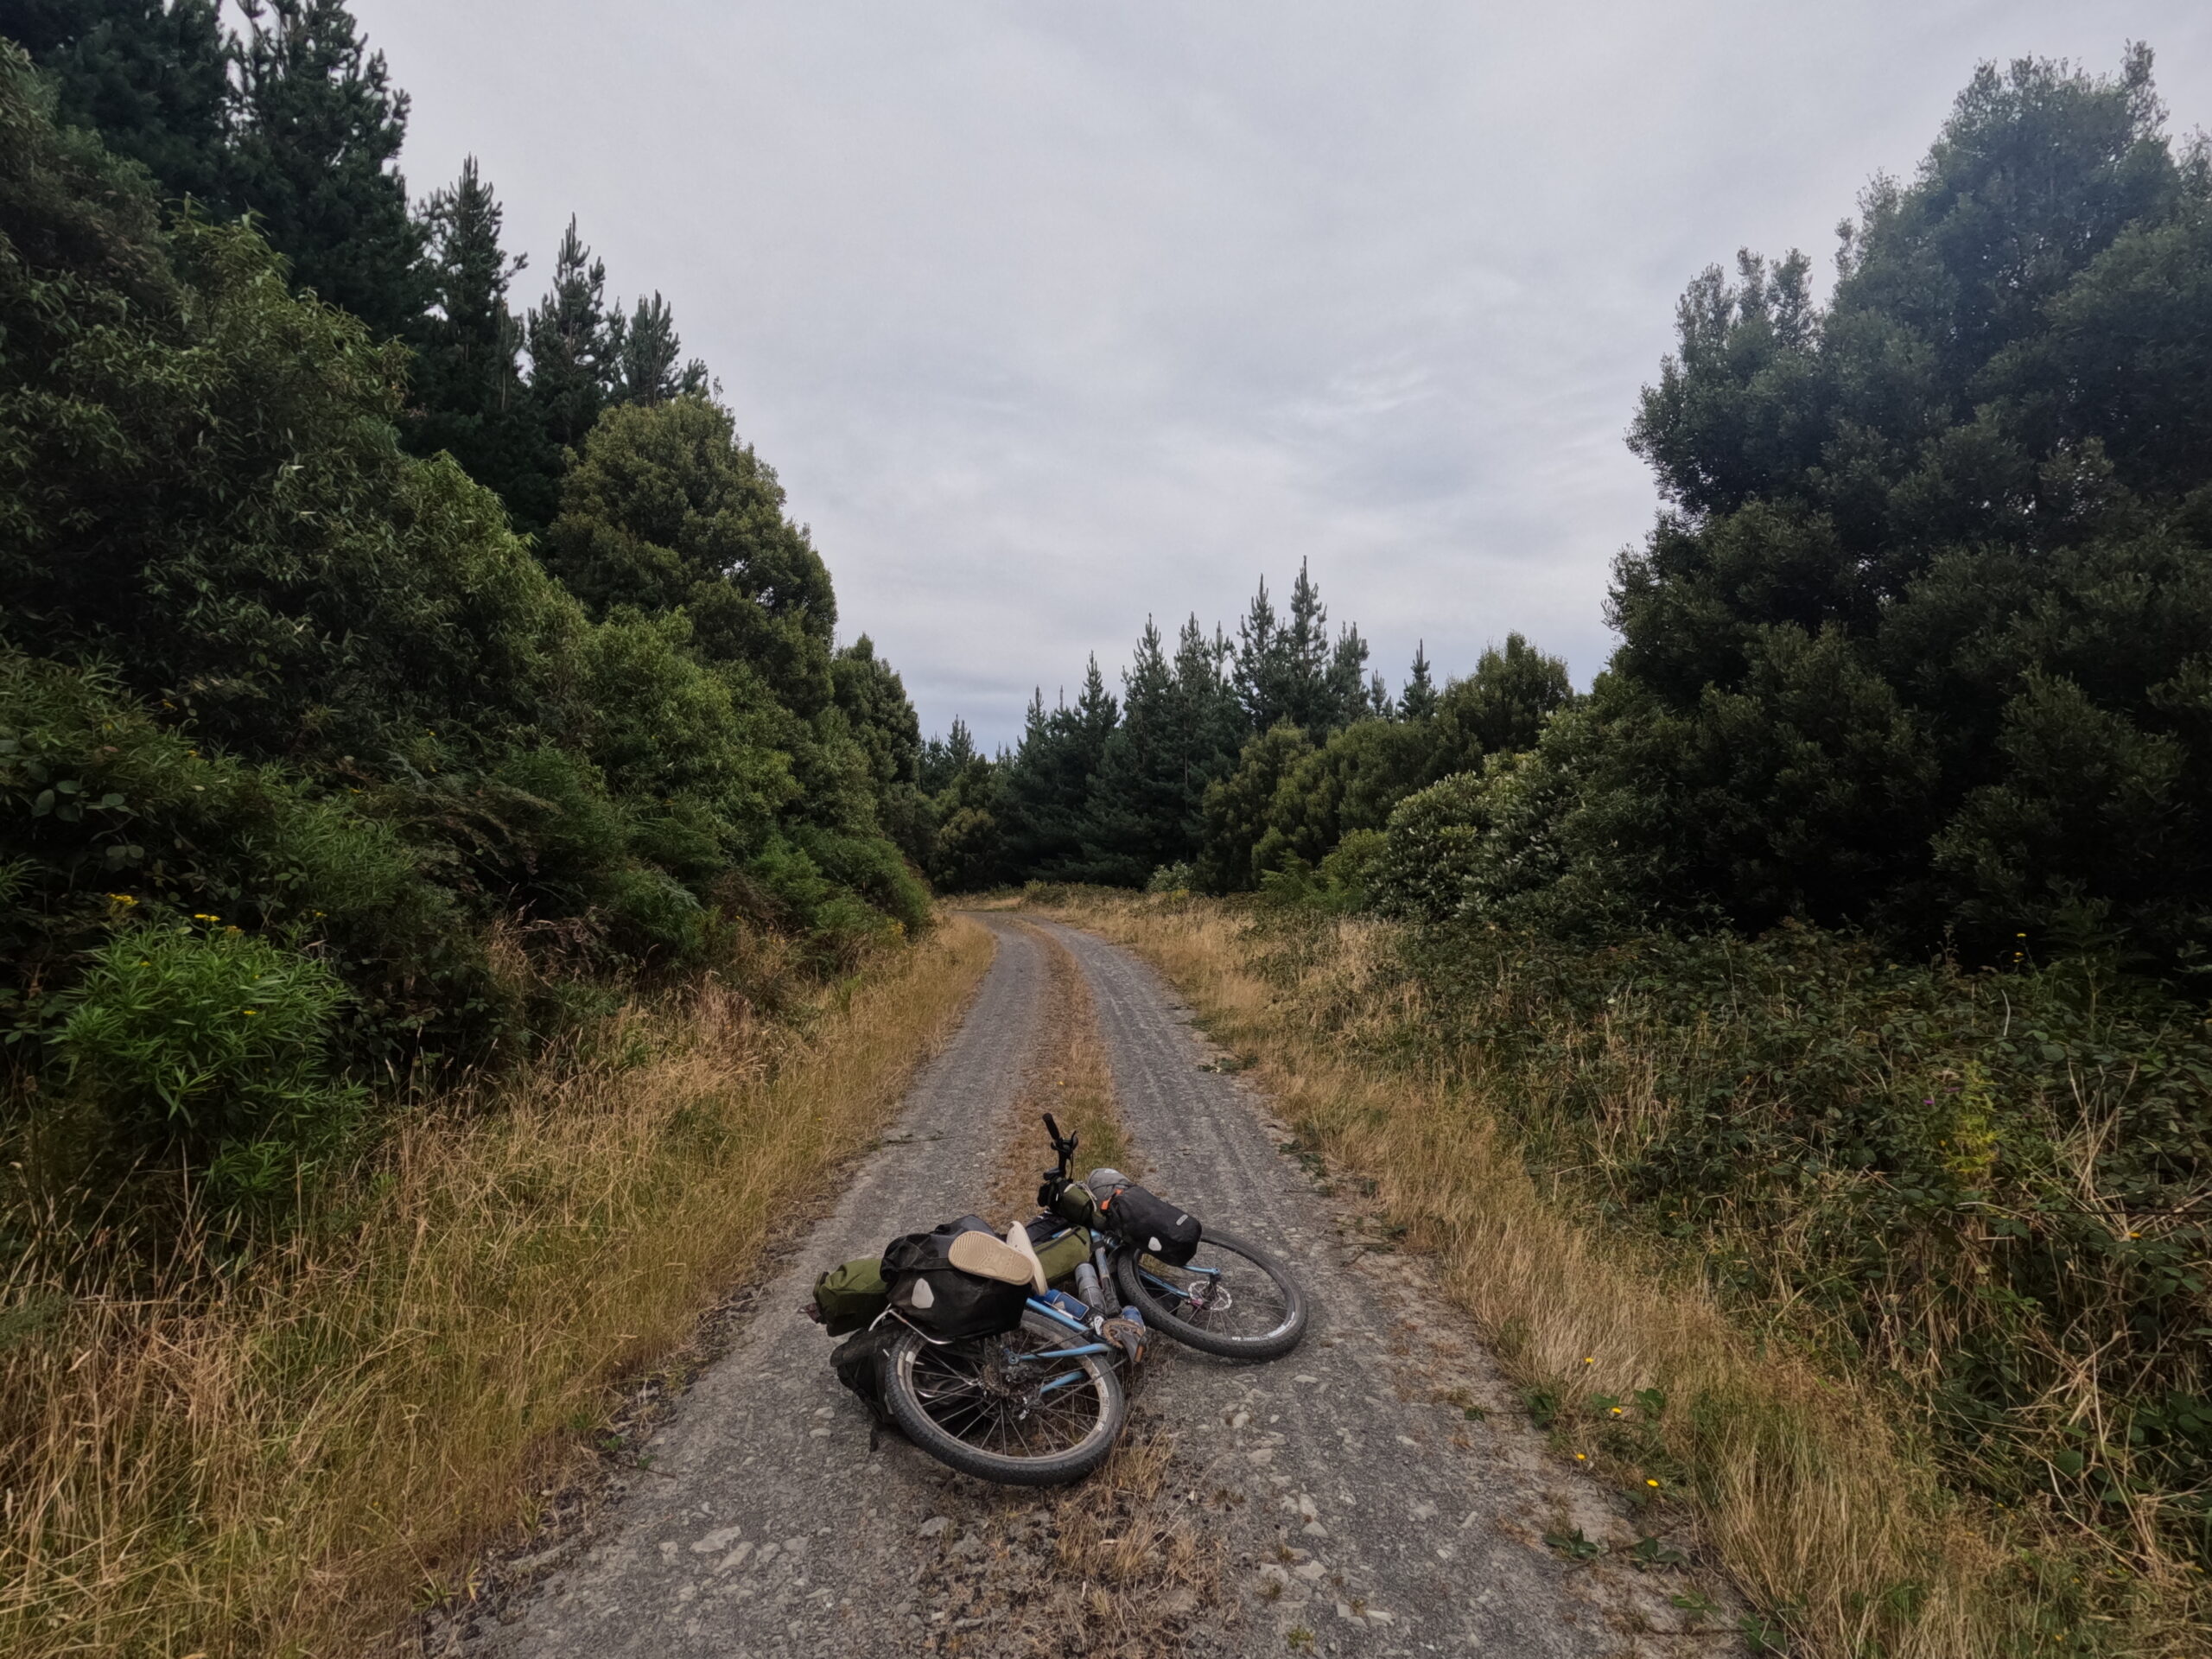
There are two brands I love and have relied upon for countless bicycling adventures…
Ortlieb
REI Links:
Ortlieb Website Links:
Outer Shell
(Save 15% with code “LIVINGBYBIKE”)
Bike Parts
Pedals
SPD Pedals (if you plan to bike in clipless shoes)
Hybrid Pedals (if you plan to bike partially in clipless shoes)
Tires
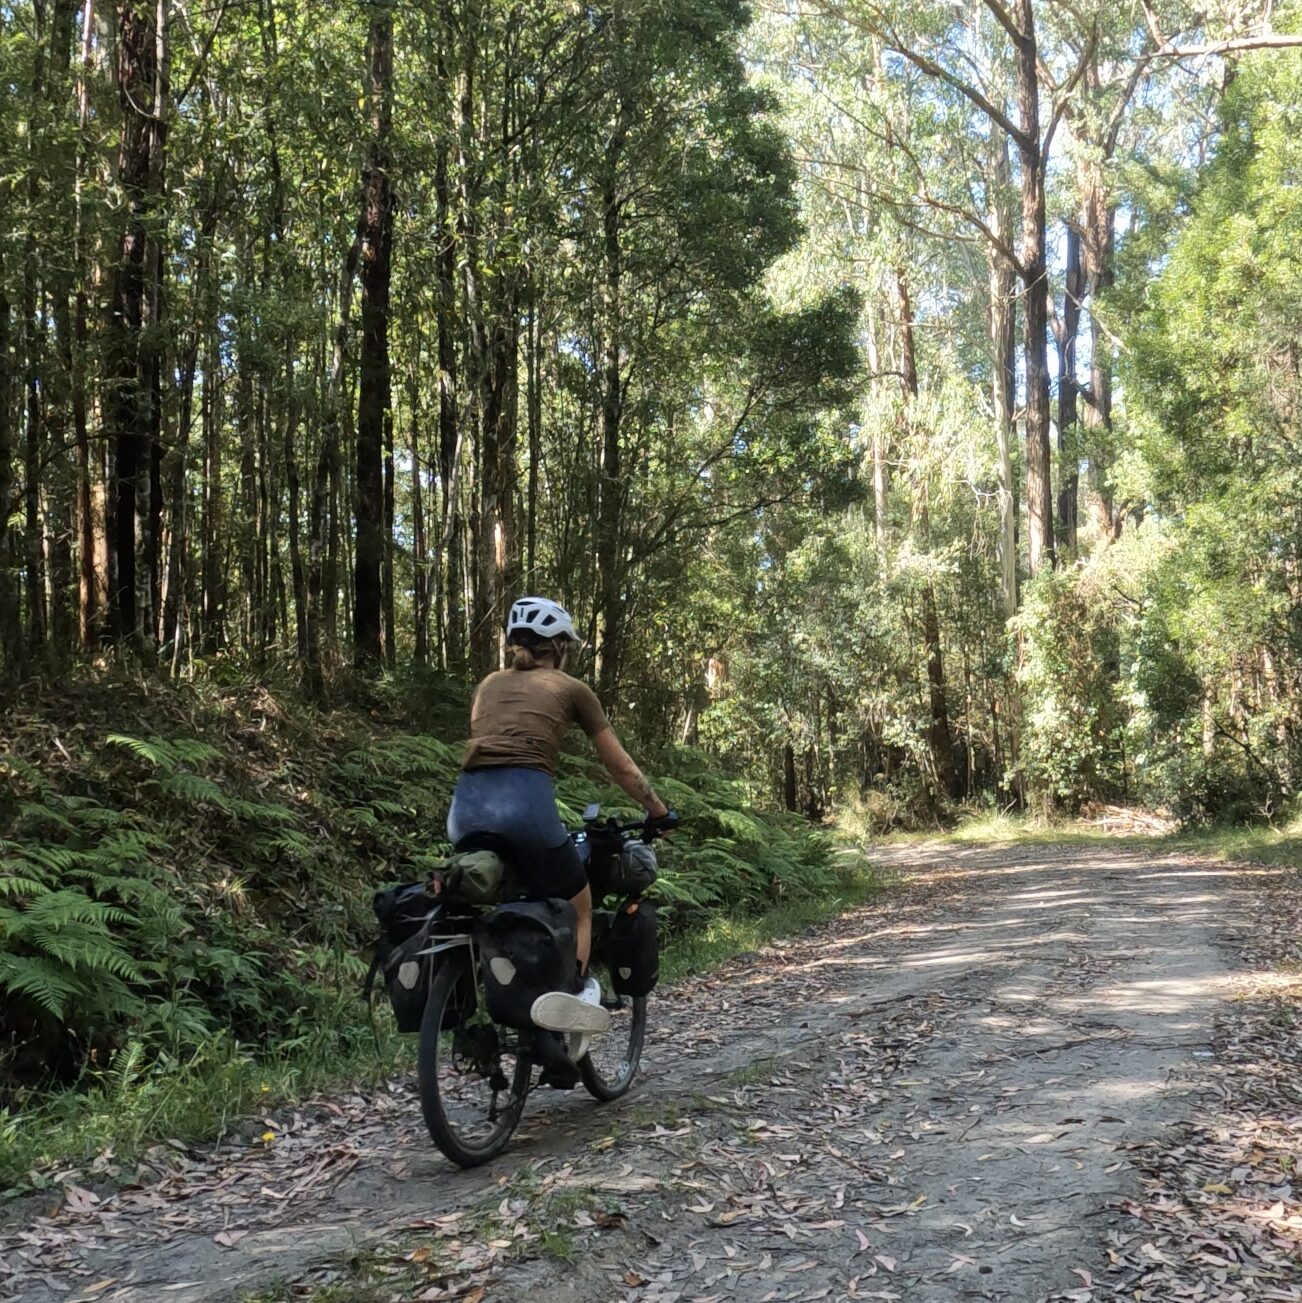
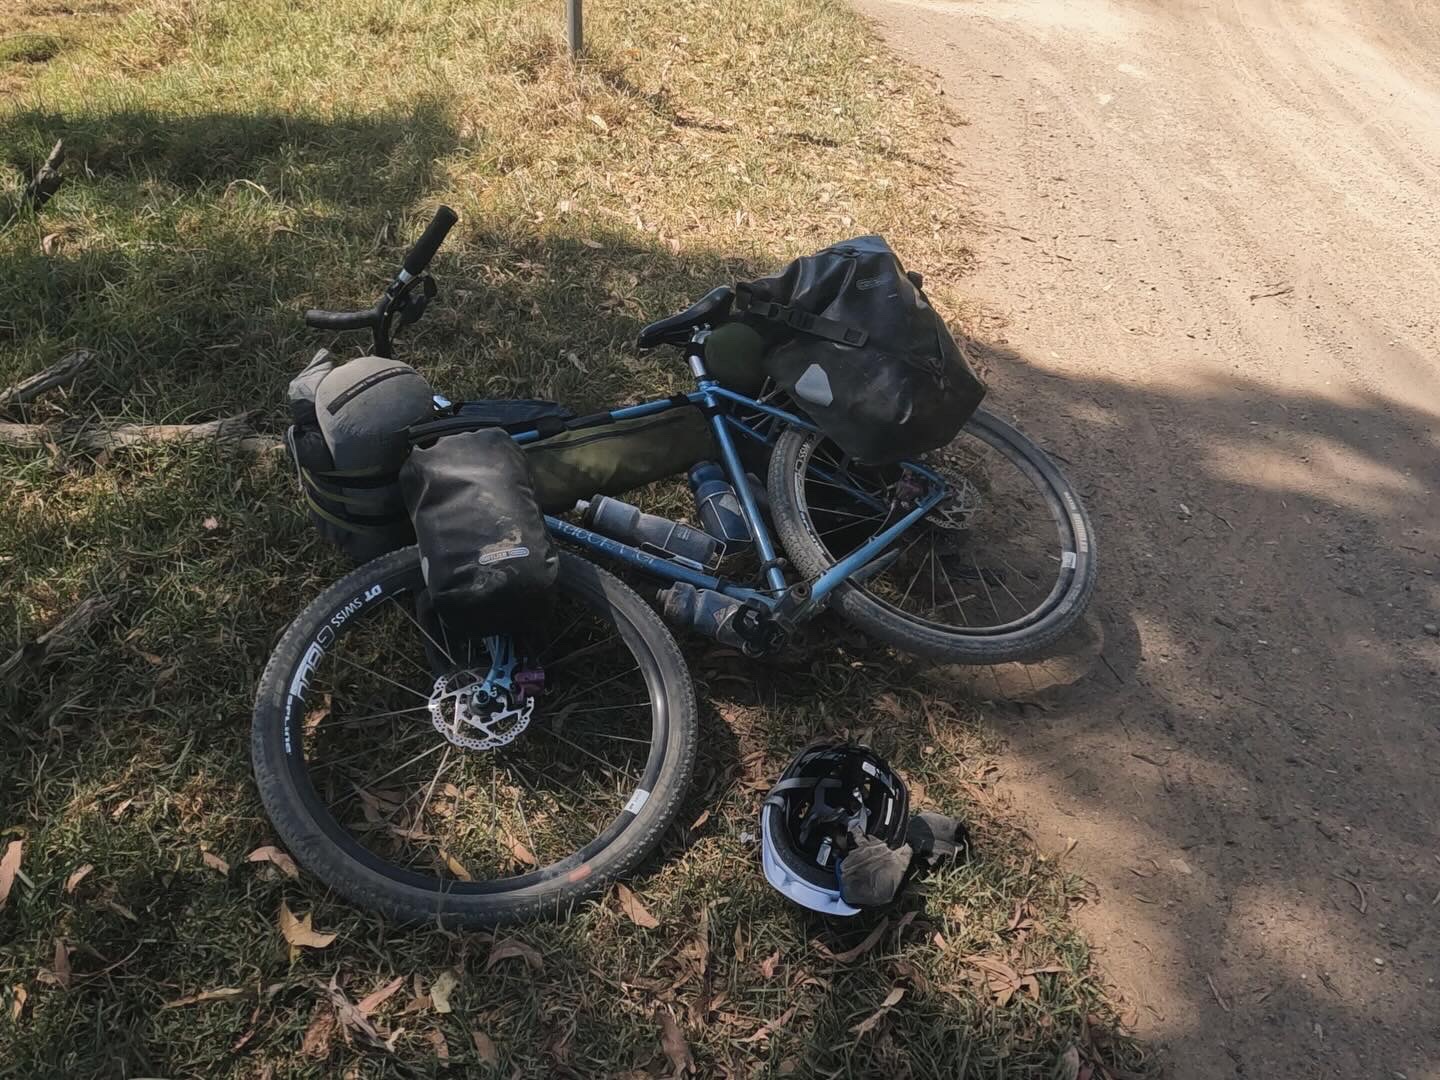
I am a die-hard Schwalbe girlie. Literally went from 7 flats in a day to 0 for months when I made the switch on my first tour. I have 5000+ miles on my road bike and 0 flats with the Marathon Plus tire. I love Schwalbe with my whole heart…. I’ve heard Gatorskin is good too!
What I Use
Other Options
Bike Repair Kit
Every trip differs in terms of terrain, weather, distance, type of bike, parts and pieces owned etc. This covers most bases, but be intentional about what you purchase!
Bike/Camp Clothes
Investing in good quality bicycle kits will save your ass literally and figuratively!
Bicycle Kits
Wild Rye and Rapha are supposed to be good too!
Camp/Travel Clothes
Shoes/Clothing Bags
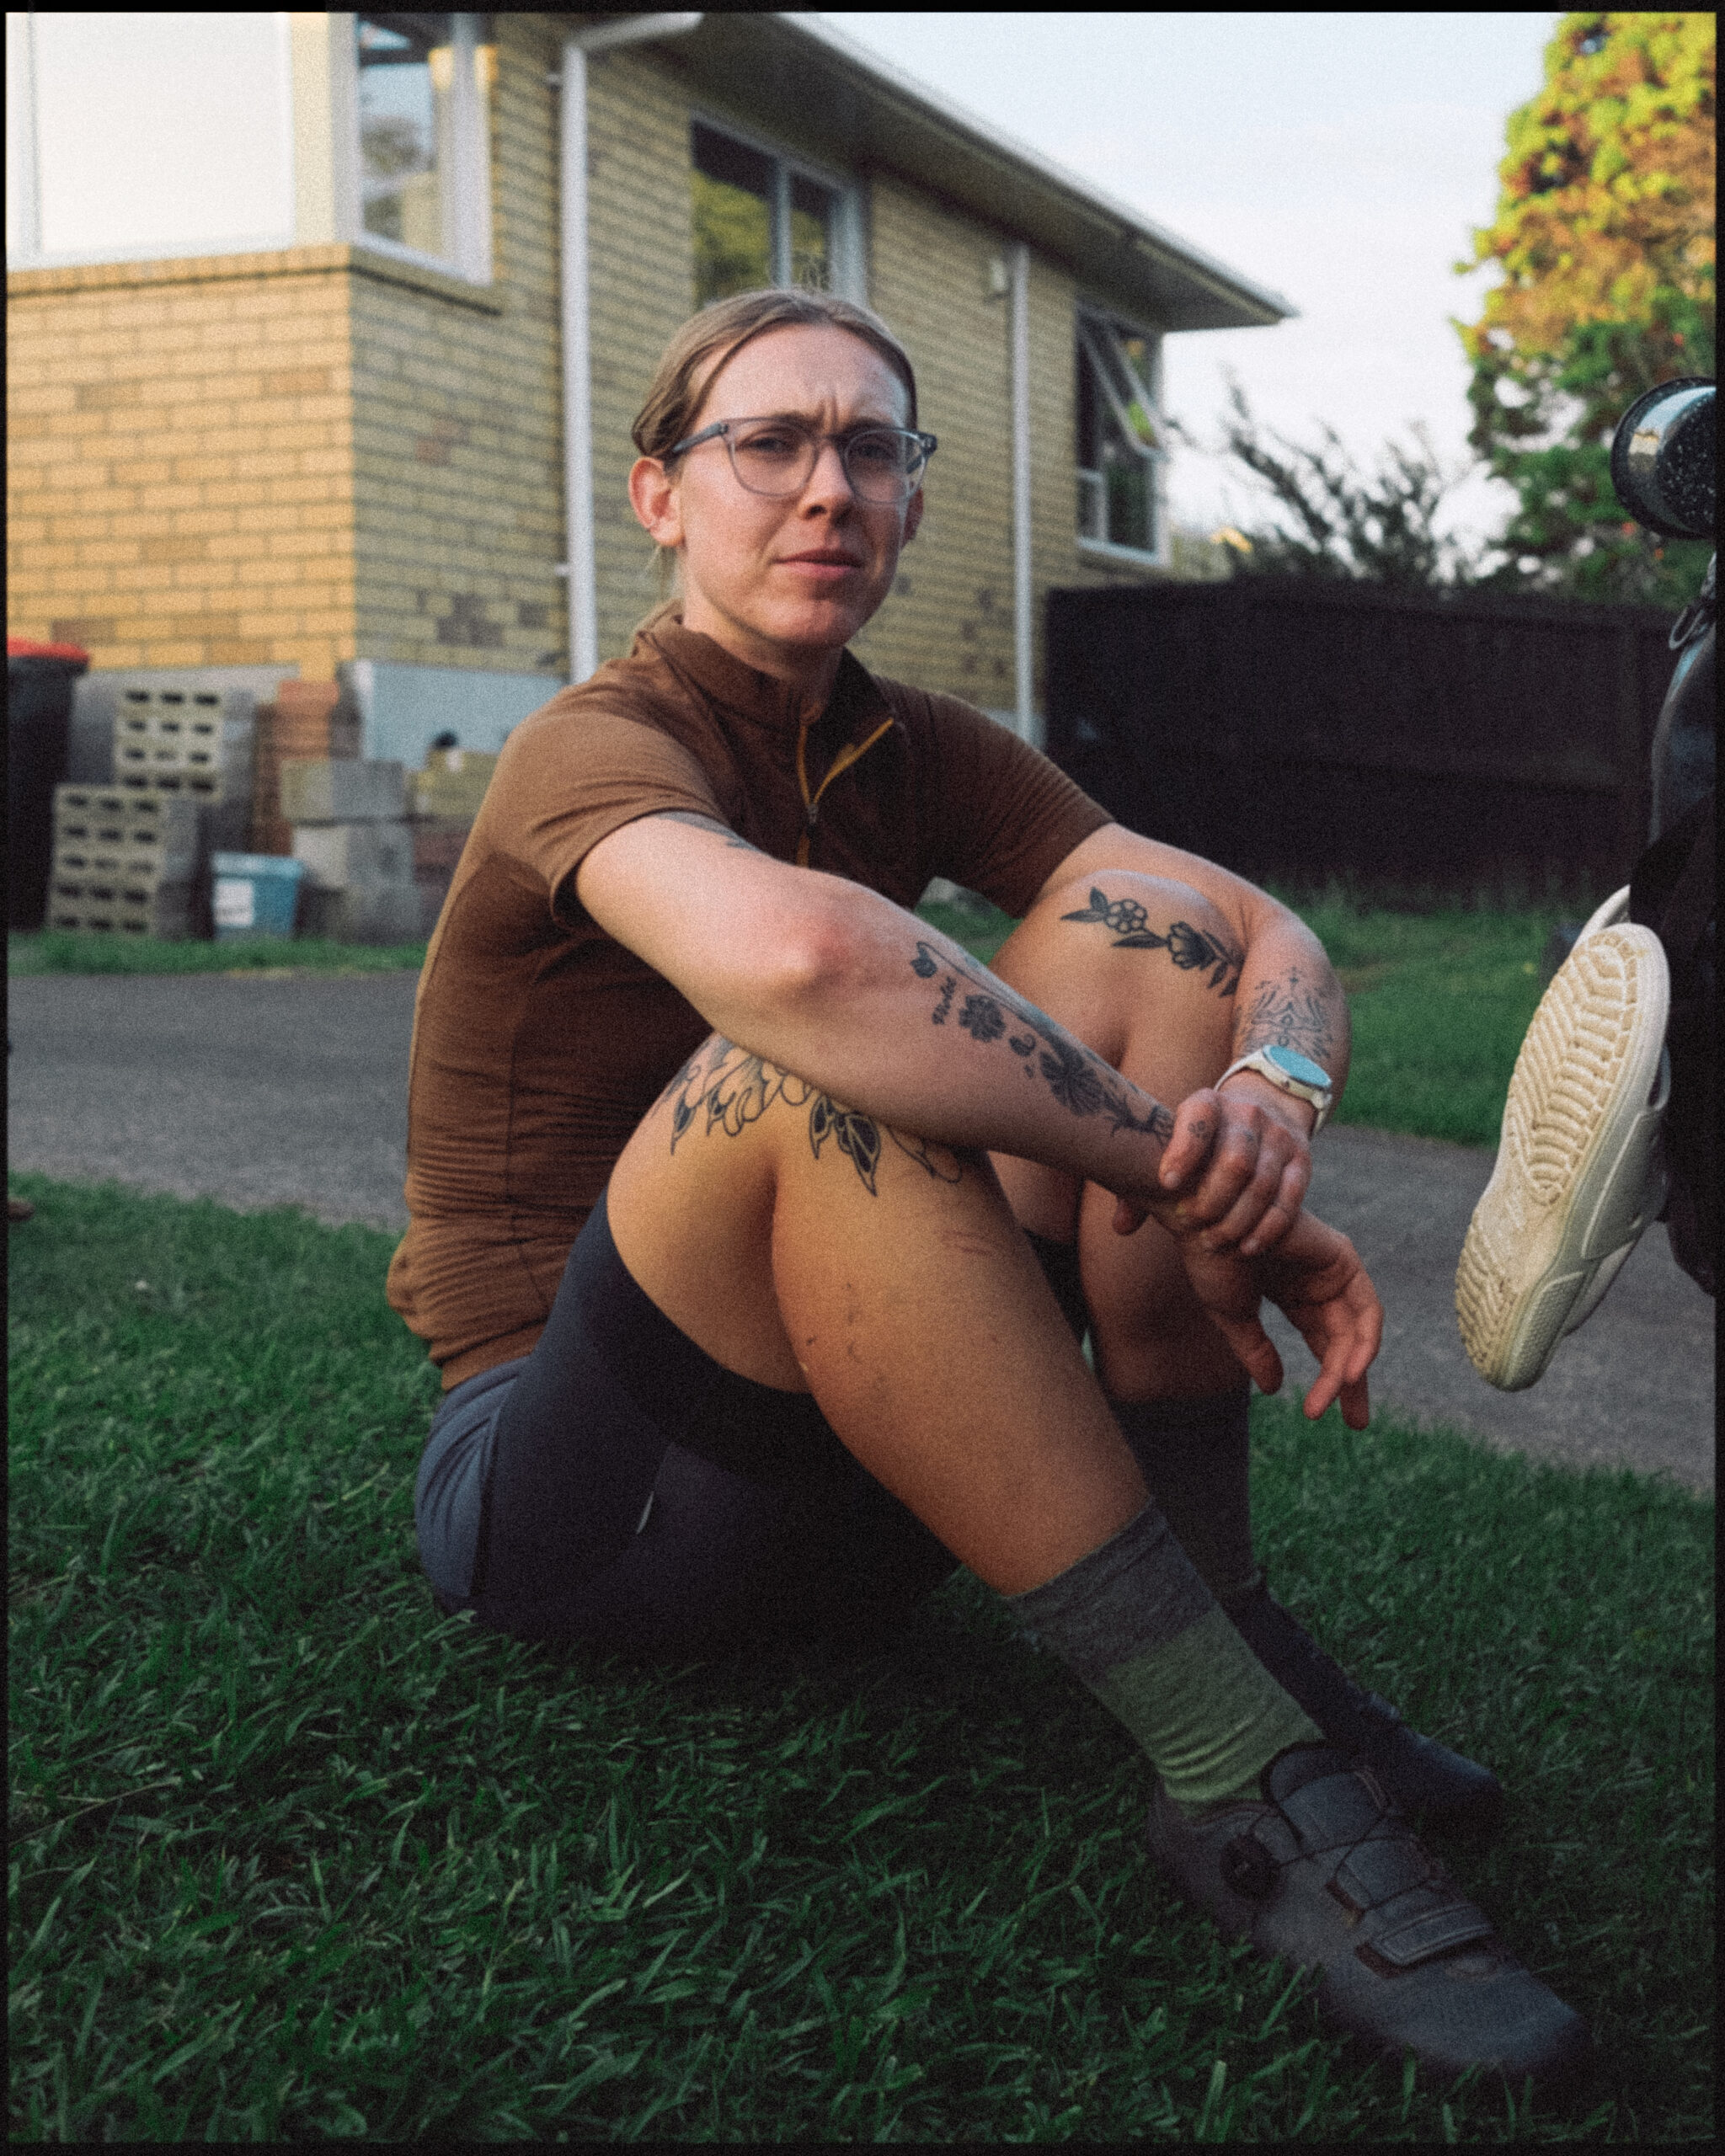
I pack 1-3 pairs of shoes per trip, depending on weather, duration, temperature, plans etc. I also separate my clothing in stuff sacks based on underwear/garments, bike clothes, dirty clothes and regular clothes.
Sun Protection
This is essential- keep your eyes and skin healthy!
The Cold
The best options include: merino wool, down/synthetic down jackets, self-packing jackets
Accessories
Power, Lighting & GPS
You will want 2-3 options for this. I highly recommend a headlamp (these are a MUST imo), and some kind of flashlight/lamp. I do not recommend relying on your phone as a flashlight.
Water Filters
Not all trips will need water filters, BUT they are really good to have if you plan on adventuring multiple days away from clean water sources 🙂
What I Use
Other Good Options

Cooking/Kitchen
Hygiene
What you bring and how you pack it will be determined by your personal needs and what is available around you! More remote landscapes will require more materials whereas developed areas may have laundromats etc. for you to use often. Plann accordingly
What I Use
Mini Towel (good for drying dishes/cleaning)
Multi Towel Lite (for showers)
Matador Flatpack Soap Bar Case
Saalt Period Cup & Travel Kit (Save 15% with “LIVINGBYBIKE15”)

Miscellaneous
“This is so expensive! How can I save some money?”
I know this can all be a little daunting…. …but please know that when I did my first tour from Atlanta, GA, to Baltimore, MD, and then across 10 countries in Europe, I was stretching every penny a foot long since I was so broke. Here is what I have done to save money…
- Brought the least amount of clothing possible (to reduce carrying volume)
- Traveled in warmer climates (reduce carrying volume/fancy clothing needed)
- Brought 1 pair of shoes
- Scoured Facebook/Marketplace/Craigslist/Local Groups for used items on sale
- Opened up a credit card that “gave you $$$ back if you spent $$$ in the next 3 months” *note I ONLY recommend this if you plan on purchasing a lot of equipment and know you’ll be meeting that minimum within the required time frame. AKA, only sign up If you know you will meet the requirements
- Took some of my parents old equipment
- Made use of REI’s 1-year return policy for members (I returned gear which didn’t hold up)
- I invested in good quality gear (thank you Ortlieb!) which will last me thousands more miles
- Acquired hand-me-downs from friends
- Borrowed gear from local co-ops/community groups
Final Resources (my last piece of advice)
Okay okay okay…. I know it’s been a LOT here, but I do have one final thing to share!
There are some more ways to know what works best for you, and that is by listening to others stories. I’ve provided you a list of some resources here:

YouTube Videos
Bikepacking 333 miles on the C&O Canal and GAP Trail
Literally any other bikepacking/bicycle touring influencer YouTube Video (ex. Bicycle Touring Pro)

Your Community
Your local bike shop
Your biking group/friends
Facebook groups



Leave a Reply
You must be logged in to post a comment.